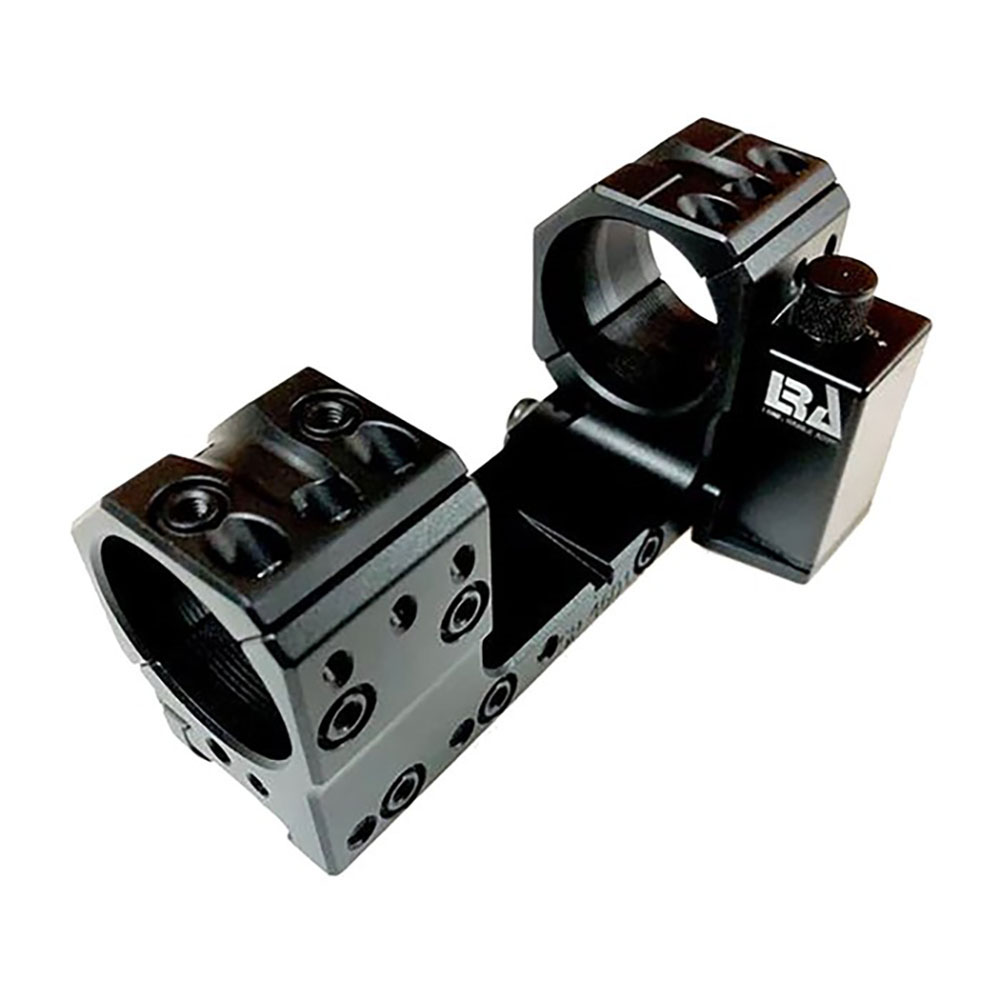
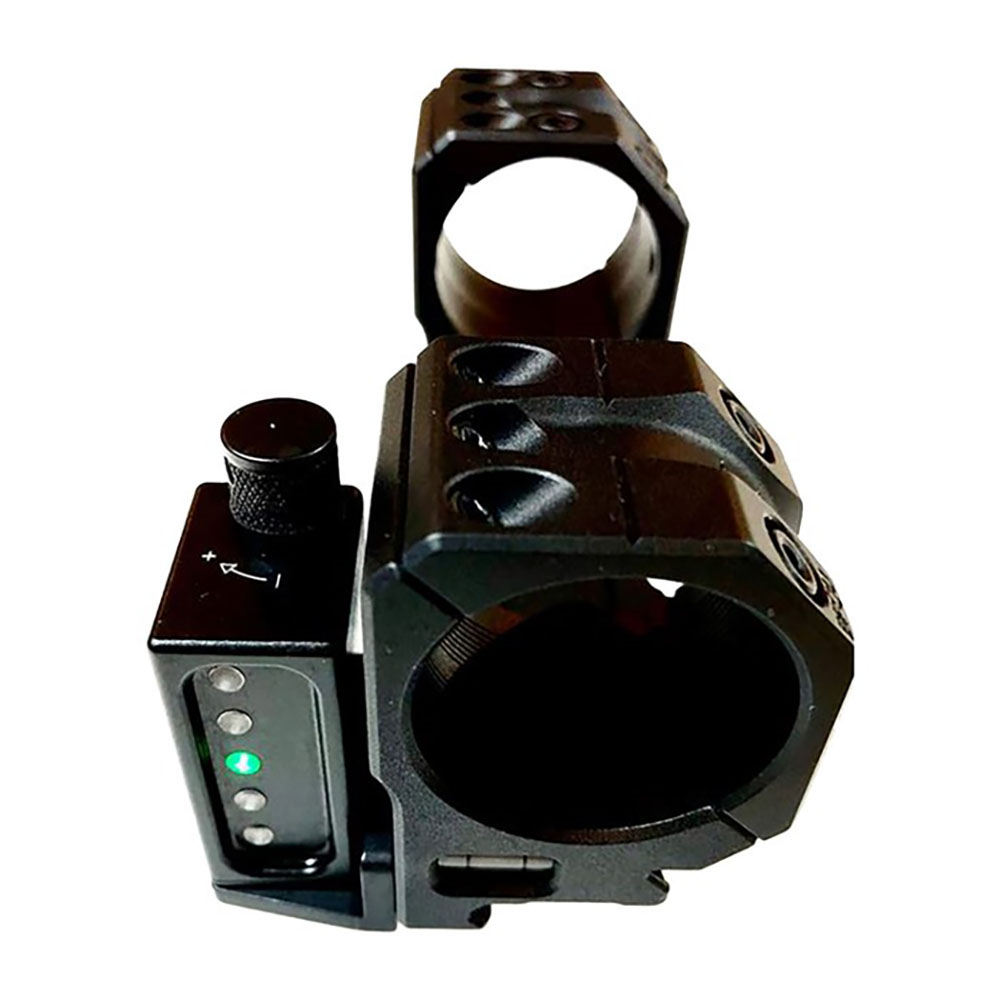
Uwaga! Poziomica Send iT MV3 sprzedawana osobno. Uchwyt LRA S90 umożliwia zamontowanie poziomicy Send iT MV3 bezpośrednio do modeli Spuhr SP, SA, SS i ST w pozycji pionowej. Uwaga! Niektóre mocowania mogą wymagać użycia Spuhr A-0001: podkładka 4mm. Skontaktuj się z dealerem Spuhr w celu uzyskania szczegółowych informacji o zastosowaniach. W zestawie; uchwyt LRA S90, śruba #8-32 (1), śruby 4mm x 10mm (2) **Ostrzeżenie** Długości śrub MUSZĄ być sprawdzone PRZED przymocowaniem mocowań. W niektórych zastosowaniach śruba może „dobić” do tuby lunety lub uszkodzić inne elementy, jeśli długość śruby jest zbyt duża lub użyto niewłaściwego rozmiaru/średnicy gwintu. TO TY jesteś ODPOWIEDZIALNY za sprawdzenie długości i rozmiaru śrub oraz zweryfikowanie przeszkód przed ostatecznym montażem. LRA nie ponosi odpowiedzialności za uszkodzenia naszych produktów ani produktów, do których są one montowane lub przymocowywane. Krok 1 - Przymocuj LRA S90 do mocowania Spuhr za pomocą (2) dostarczonych śrub z płaskim łbem 4mm x 10mm, używając klucza IP20 lub T20 Torx Plus lub Torx. Dokręć obie śruby do 20-25 in-lbs. Krok 2 - przymocuj poziomicę Send iT MV3 do uchwytu LRA S90. Postępuj zgodnie z instrukcjami dołączonymi do poziomicy Send iT MV3 w celu usunięcia mocowania Picatinny (link poniżej). Ostrożnie wsuń poziomicę Send iT do kieszeni uchwytu LRA S90 ręcznie i upewnij się, że leży płasko i jest całkowicie osadzona PRZED zamontowaniem śruby. Zainstaluj i dokręć (1) dostarczoną śrubę z płaskim łbem #8-32 do 30-34 in-lbs, używając klucza 3/32 Allen.
Send iT MV3 Level sold separately. LRA S90 Bracket Allows the Send iT MV3 to be mounted directly to Spuhr’s SP, SA, SS, and ST models in the vertical Position. Attention! Some mounts may require Spuhr A-0001: Spacer 4mm. Contact your Spuhr dealer for specific applications. Included; LRA S90 Bracket #8-32 screw (1) 4mm x 10mm screws (2) **Warning** Screw lengths MUST be checked PRIOR to attaching the mounts. In some applications the screw can “bottom out” against the scope tube or damage other components if the screw length is excessive or the wrong size/thread pitch is used. YOU are RESPONSIBLE to check the length and size of screws and verify interferences before final assembly. LRA is not liable for damage to our products or the products they are being mounted or attached to. Step 1- Attach the LRA S90 to the Spuhr mount using the (2) supplied 4mm x 10mm flat head screws using either an IP20 or T20 Torx Plus or Torx drive. Torque both screws to 20-25 in-lbs. Step 2- attach the Send iT MV3 to the LRA S90 bracket. Follow the instructions included with the Send iT MV3 for removal of the Picatinny mount (link below). Carefully fit the Send iT into the pocket of the LRA S90 bracket by hand and confirm it’s sitting flat and fully seated BEFORE installing the screw. Install and torque the (1) supplied # 8-32 Flat head screw to 30-34 in-lbs using a 3/32 Allen drive.